How Touse a Compass to Read a Survey
The Basics Of Map Reading With A Compass
xv January 2018
When it comes to hill walking, most of us volition have an idea of the most important things to consider when setting out. Adequate clothing, food and water, a map, and a mobile phone for emergencies.
Withal, very few gorging hikers actually know how to utilise a compass which is an extremely useful, and sometimes lifesaving, skill when out climbing mountains.
And so, to give yous a paw, we've put together a post with all the basics y'all need to know for map reading with a compass.
Why do I need a compass?
Firstly, you might be wondering, why practise I actually demand to use a compass for map reading? Isn't that what GPS on a mobile phone is for? Do people even do that in this twenty-four hour period and age?
Well, in respond to your questions, you do in fact need a compass when out walking. Should anything happen to your phone, such as the battery dying or a lack of betoken, you would be left without any fashion of navigating accurately.
Plus, GPS can be hard to follow when visibility is poor, whilst an accurate compass bearing volition go along you on the right track despite thick fog or rain.
Guide to the compass
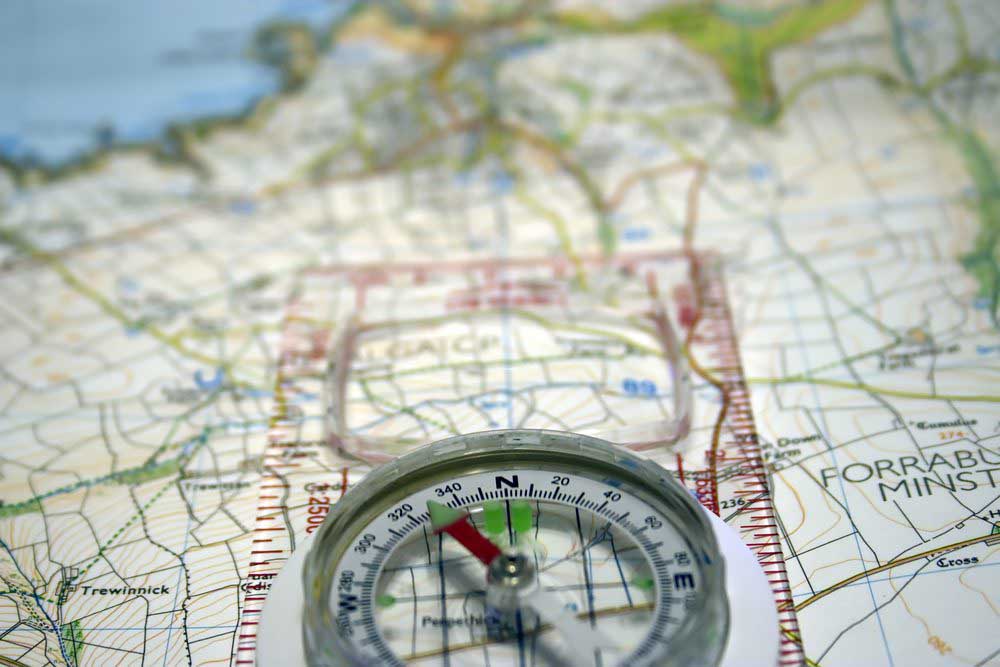
When it comes to walking, running, or cycling, the baseplate or orienteering compass is the most effective and accurate mode of reading a map. And then we will exist discussing this type of compass in this mail service.
A baseplate compass is made up of around 8 basic features (although some high tech ones volition take more!) which are:
- Base of operations plate: this is the clear plastic base on which the compass is mounted and has multiple lines and scales on information technology to help yous take readings.
- Compass punch: this can be known as the compass housing or compass bike and is the rotating bezel used to take bearings. The dial will be marked every two degrees to cover the full 360 degrees and volition take the four principal compass points of Northward,S,E,West.
- Compass needle: this is the magnetic needle that rotates to find north. The ruddy end volition ever betoken to magnetic north whilst the white end will always point to magnetic south.
- Orienting lines: these are lines that are fixed within the compass dial and are aligned to the lines on your map to take your bearing.
- Orienting arrow: this is a fixed arrow within the compass punch and when you take your bearing, you will marshal the compass needle with this north-facing pointer.
- Alphabetize line: this is a line fixed into the compass dial which marks the bearing you desire to travel on.
- Direction of travel arrow: this is an extension of the index line to show you which direction of travel you need to take.
- Compass scales: otherwise known equally romer scales, these scales assist you to measure out distance and help you lot work out your 6-figure grid reference.
For a diagram of these features, the Ordnance Survey has created a guide.
Which north?
Before you begin to take your bearings for map reading, it'due south important to make sure you're using the correct north.
If you lot're using an Ordnance Survey map, you lot'll observe a section called Due north Points. For the purpose of navigation, you need to use grid north and magnetic north (you tin ignore true north!)
How to take a bearing
Step one: Line up your points
To take a begetting, you need to identify where you are on the map (betoken A) and where you want to get (point B).
Make sure the map is on a apartment surface and line upwardly the edge of your compass with the line between point A and signal B, making certain that the direction of travel pointer is pointing towards point B.
Step 2: Marshal to filigree north
Concur the compass still and turn the compass punch so that the 'N' magnetic point is facing to the top of the map (i.e. grid due north).
When this is done, the orienting lines on the punch should be lined up with the easting lines on the map. And the orienting pointer on the dial should be facing to the peak of the map.
Step 3: Arrange for magnetic variation
When it comes to accurateness, you need to suit for the magnetic variation betwixt filigree north and magnetic north, which is between 0 to iv degrees to the due west. You can detect the adjustment in your map fundamental under 'magnetic north.'
In one case you've establish the adjustment needed, turn your dial anticlockwise the number of degrees states on the map.
Step iv: Line yourself up
In one case you've taken the begetting, be careful not to move the compass dial.
Hold the compass flat and near to your body, with the direction of travel arrow pointing straight alee. Turn yourself and the compass effectually slowly until the reddish terminate of the compass needle lines upward with the orienting arrow.
The direction of travel arrow will now be pointing towards point B and where you want to go.
When you lot're ready to prepare off, selection an object in the distance that's exactly in the right direction and head towards it!
For a guide with added pictures and a video tutorial visit this page.
Now that you're prepare to caput out into the corking outdoors, this post has three of the all-time walks in United kingdom for you to endeavor!
Source: https://www.pure-leisure.co.uk/basics-map-reading-compass/
0 Response to "How Touse a Compass to Read a Survey"
Postar um comentário